For the record, Hacking IKEA Besta cabinets isn't as straightforward as Hacking Billy cabinets. Primarily because Besta is made with 90% cardboard. Give or take. It is doable, but I don't know if I'd use it in this scale of design again. Regardless, after a few months our Hacking and installation of a wall's worth of Besta is complete.
This wall of shelving has been a pretty massive project and it feels good to be on the final stage, which is adding trim to make it officially built-in. Backing up a bit, the project has involved:
With all of those complete, that brought us to this step: Hacking the IKEA Besta cabinets and installing them along with the LED strip lighting. For lack of thorough planning, we ended up using (3) single cabinets, (5) double cabinets, and (1) triple cabinet. Basically, when we were first planning this project we picked up a single, the triple, and two doubles because we didn't exactly know how we were going to lay them out (maybe horizontally, maybe vertically). Ultimately, we ended up with a grid layout stacking them all horizontally.
First things first, we started with stacks of Besta pieces and a pretty intimidating cut list.
Then got to work. For consistency, when I could I'd use a block on my homemade (thanks again Scott!) table saw sled. Once everything was cut to size, I needed to cut out the channels for the strip lighting. I wanted the lighting recessed into the undersides of the cabinet shelves. With Besta being mostly cardboard, this was a little funky but yes, ultimately worked fine. Oh yeah, this was when it was still winter…
With all of the pieces cut and the LED lighting channels complete, I had to solve for how to route the electrical wires that would connect the various LED strips through the Besta cabinet pieces. I didn't want to see anything, not the strips (hence, why I recessed them into the shelving) or the wires. So I drilled into and through the sides of the Besta cabinets where the LED strips would be positioned. Then tested. Good news: it worked great.


Finally, I had to solve for how to connect each level of Besta cabinets. Since they were stacked on top of each other, I knew I couldn't use both tops and bottoms of all the cabinets because that would make the horizontal layers twice as thick. Part of what made Besta less ideal to hack was the dimensions of IKEA's camming hardware. On Billy, it's a standard drill size to recreate the larger hole for the camming device. On Besta, it's not. The device was too wobbly and wouldn't fasten tightly on the opposing screw. Also, I didn't want to necessarily use glue in case I ever needed to disassemble (spoiler: umm, I had to). So I landed on pocket hole screws. Not perfect, but strong. I'm still deciding whether or not to cover them up (and how) or leave them as-is. Time will tell, or how much seeing the pocket holes will bug me. Regardless, for the holes I had to be mindful of the little amount of solid wood Besta contained and to drill the holes through those sections.

Then repeat that process. A lot. Once everything was cut, channeled, and pocket-holed it was time to finish. It was the same process we used on the Billy bookcases:
While we let all of the finished Besta pieces cure, I moved onto crafting the electrical outlet areas. The first level of shelving will be covered with doors so I didn't paint any of that. Also, for the existing outlet I crafted a simple backing and cutout in the plywood panel of that Besta cabinet. The design for the outlet panel we'd be seeing (where our audio/video equipment would be, so it included a surge-protected outlet for those, dimmer switches for the recessed gimbal lights and LED strips, and an outlet for all of the in-wall speaker, video, and network cables) was a little more involved.
First, the hidden-in-a-covered-cabinet outlet…
Then, the exposed panel… This one required using scrap plywood for the backing along with scrap oak for the spacer. I built a jig to the size I designed and used that to route the spacer before glueing it to the backing and ultimately to the wall where it would be positioned. Once placed and when I reached that point in the Besta cabinet construction, I glued that cabinet backing to the spacer after rough-cutting it to the size of the cutout. Then, with a pattern bit on my router and K holding the shop vac, I routed the edges of the cabinet backing to match the spacer.
This recessed housing for the electrical was, like many (most?) of our projects, K's idea. Then it was up to me to figure out how to execute (also how it goes for these projects, heh). I do like how it turned out. Teamwork!
With the electrical panels solved, it was time to build some Besta. This looked very similar to laying bricks. Really big bricks. With embedded LED wiring. Meaning, one cabinet and one layer at a time, up and over, up and over, up and over. I started with the single cabinet on the left side of the base and went from there. I countersunk construction screws where the sides landed on the cabinet bases to attach them to the frame. For the triple cabinet that attached to the wall, I had to route out spaces for the L-brackets to fit through the plywood backing panel. It would turn out very fortunate I had those access points to get behind this cabinet… This level though was straightforward because it used the stock Besta hardware. I just had to make sure the cabinets were level since they’d serve as the foundation for the next two levels.


Because of the integrated wiring/LED lighting and the custom pocket hole joinery, the next levels would be more complex. First, I cut all the metal LED channels and plastic diffusers before using construction glue to adhere the channels into the cutouts I had made with the table saw in the Besta shelves. The construction adhesive was gooey and thick enough to hold the metal channels to the cardboard guts of the Besta.
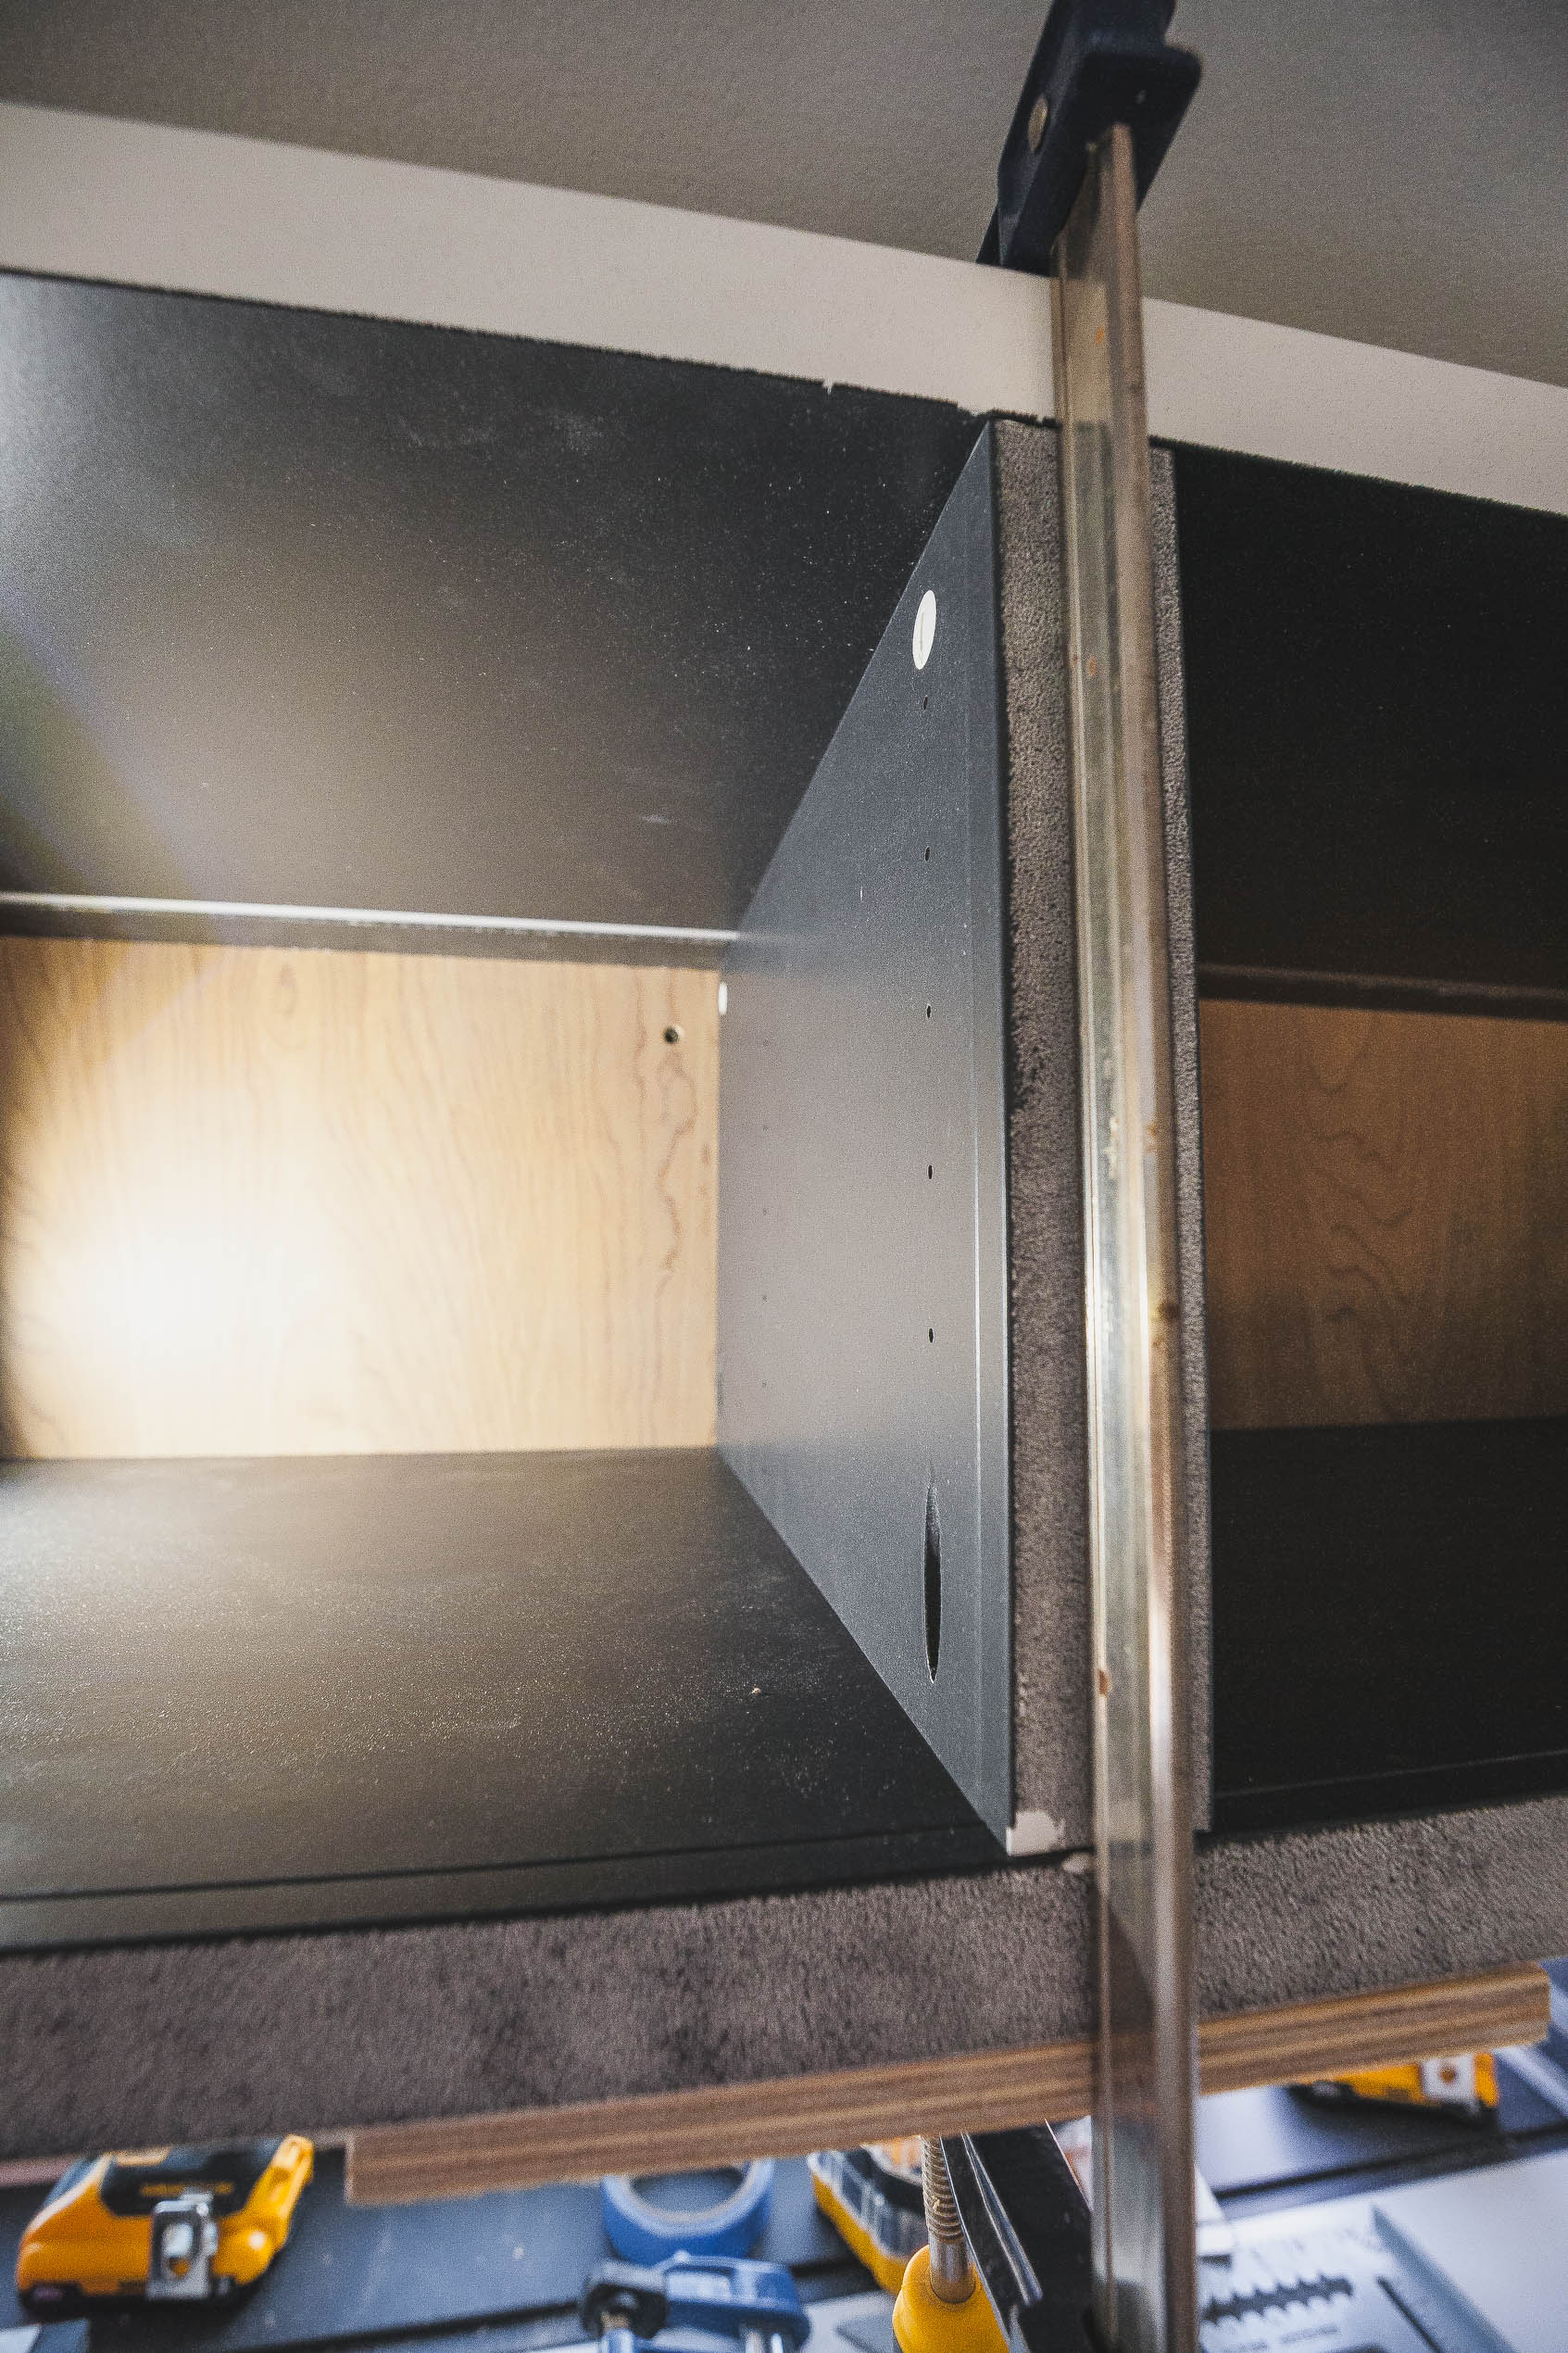
The keys to building these custom levels was 1) ensuring everything was level and 2) ensuring everything was square. I used squares, clamps, and scrap pieces of wood to hold the sections in place as I drilled in the pocket screws, checking level and squareness as I went. Good news: everything held, is square, and is (dare I say) perfectly level. My tolerance on this project is no more than 1/16".
While doing all of that, I had to also thread the wire through the cabinets and connect the LED strips, starting with the first one. Oh, and make sure the vertical walls of each cabinet were aligned with the ones below (since I'll be placing a piece of trim across all of these they needed to line up perfectly). I attached each cabinet to the furring strips on the walls with the included plastic IKEA clips.
Fast-forward to completing the first three levels beneath the window.
I had to drill access points in places along the furring strips to let me get a small pry bar behind the plywood panels and pull them forward so they would align with the cutout on the top of the cabinets. Finicky, yes.
Still perfectly level on the vertical with no shimming!
For the lighting, I peeled back the tape to affix the strips inside the metal channels before sliding on the diffusers. Surprisingly, the diffuser made a huge difference in the quality of the light. The second and third photos below show the lighting with and without the diffuser as I slid it in place. At various points during the project there were coffees and rhubarb margaritas to be enjoyed. Also, some relaxing.


Here comes the rub: standing back with a sense of accomplishment having pieced together the first three levels, I noticed something was off with the LED lighting. There was a noticeable difference in the brightness from the first through the third levels. I had all of the sections wired in series with 22-gauge 2-conductor wire, starting with the far right on the second level. Taking a voltmeter to the various connection points along the run, I saw the problem: a significant voltage drop. Also surprising, the drops occurred more in the long runs of the lighting strips themselves rather than (as I'd have expected) along the lengths of 22-gauge wire. Basically, the voltage started at around 11v and dropped to just over 7v by the end. Yikes.
Double-yikes, because I knew what this meant. I had to re-wire all of the lighting. Which meant I had to disassemble the top two levels of cabinets. Here's where it's good I didn't glue the cabinet pieces together with biscuits or another type of joinery. Yay. It took a couple of days, but the changes I made included:
- Rewiring with 16-gauge 2-conductor wire leftover from our Sprinter van build
- Running (4) individual runs directly from the 100W transformer and splicing them into different points along the length of strip lights
Also, this is why it was fortunate I had access through the small channels I routed for the triple cabinet wall brackets. Through one of them I could run a snake to get the new, beefier wires up and over from the transformer buried in the framing to the righthand side of the Besta shelving. It was tedious but, alas, worked.
The wiring diagram I concocted looked like this:
Then all the snaking of wires…
Also thankfully, I made sure the transformer, though tucked inside the shelf frame, was accessible. With the three additional wire runs going from the transformer to the cabinet ends, I peeled off the tranformer cover to make the new connections. I had a set of super-awesome Harbor Freight (read: much more affordable) WAGO connectors on-hand from an update I made to our van's electrical. These worked perfectly to make the five connections: the 12v positive and negative outputs from the tranformer to each of the four wire runs.
Then came the laborious task of rebuilding and rethreading all of the new wires. Once complete, I flipped the switch and stood back. Boom.
For fun, I tested the voltage. Now the drop didn't fluctuate more than a volt between the beginning and end of each of the three sections of lighting (the fourth section was for the upper cabinets I had yet to install), and it was between 10-11v. Solid.
That meant it was time to hang the final level of shelving above the window. This required using IKEA's Besta brackets. The catch was I needed the cabinets to align perfectly, both horizontally (with the cabinet sections below) and vertically (with the underside of the tops of the Billy bookcases on either side and with the bottom of the top window trim). After lots of measuring, reading the instructions to determine placement, and measuring again, I positioned the brackets and fastened them to the furring strips. I of course had to make sure they were level before setting the cabinets on the brackets.


Besides being hung on the wall, the other primary difference with this level from the lower three was that I had to slide the plywood backing
up and fasten the bottoms of the Besta cabinets. With the pocket hole screws, I knew I couldn't have anything move as the screws bit into the cabinet bottoms. The other catch was the height and fitting a drill driver into the cabinet spaces to drill in the pocket hole screws. For this, I broke out my
right angle adapter. Maybe surprisingly, that adapter really works when space is tight. I've used it a few times and it's come in clutch.
I also had to solve for the still-existing center speaker wire. I didn't want to permanently bury it in the wall in case it came in handy down the road (a lesson I learned from our other house). So I drilled a hole and picked up a
wall cover for it. Also, I had to attach the final strip of lighting.
Ok, just. Wow. It's one thing to have a rough idea that we wanted a wall of bookshelves. It's another to see it come to life. Vision, strategy, execution.
I still had to attach those two cabinet bottoms, though.
Check level one more time…
… and stand back.
Now we're talking. Yes, I could have left the lighting to drop in voltage. Maybe most people wouldn't have noticed the difference in luminosity. But K reminded me it would always bug me. Dammit.
But here we are, with a wall of shelving. Not complete, yet. The final step will be measuring, cutting, painting, and installing all of the trim so these shelves look properly built in to our living room. I'd say we're finally about 90% there. I'm excited to see it come together.